Welcome to the world of small kitchens, where space is at a premium and ingenuity takes center stage. Whether you’re a city dweller embracing the charm of a cozy apartment or simply working with limited square footage, designing and navigating a small kitchen can present unique challenges. However, with the right approach and a dash of creativity, you can transform your compact culinary haven into a functional and stylish space that defies its size.
From clever storage ideas to layout considerations, from appliance choices to lighting strategies, we’ve got you covered. Whether you’re looking to optimize your existing small kitchen or embark on a renovation project, this comprehensive resource will help you make the most of every square inch.
Join us as we delve into the world of small kitchens and unlock the secrets to maximizing space, efficiency, and style. Get ready to discover a wealth of ideas that will empower you to create a small kitchen that not only meets your needs but also exceeds your expectations. Let’s begin our journey towards a functional and inviting small kitchen that defies its size!
Read More FAQs in our blog.
1. How to Make the Most of Your Small Kitchen Space: Clever Storage Solutions and Layout Ideas
When it comes to small kitchens, every inch counts. To make the most of your limited space, strategic storage solutions and intelligent layout ideas are essential. One effective strategy is to utilize vertical space by installing tall cabinets or shelves that reach all the way to the ceiling. This allows you to store rarely used items or bulkier kitchenware out of the way. Additionally, consider incorporating multi-functional furniture, such as kitchen islands with built-in storage or pull-out drawers.
These versatile pieces not only provide extra workspace but also offer valuable storage compartments for pots, pans, and utensils. Maximize your cabinet space by utilizing organizers such as pull-out racks, carousel systems, or stackable containers to keep items neatly arranged and easily accessible. Finally, think about the layout of your small kitchen. Opt for open shelving instead of solid cabinet doors to create an illusion of more space.
Embrace light colors for your cabinetry and walls to make the area feel brighter and more spacious. By implementing these clever storage solutions and layout ideas, you can transform your small kitchen into a well-organized and efficient culinary haven.
2. How do I maximize storage in a small kitchen?
Maximizing storage in a small kitchen requires a clever and strategic approach. One effective method is to make use of vertical space by installing tall cabinets or shelves that reach up to the ceiling. This provides additional storage space for items that are used less frequently or for bulkier kitchenware. Another tactic is to utilize the insides of cabinet doors by attaching hooks or racks to hang frequently used utensils, pot holders, or cleaning supplies.
Optimize your cabinet space using stackable storage solutions and drawer dividers to keep items organized and easily accessible. Consider installing pull-out racks or carousel systems to make the most of corner cabinets and deep shelves.
Magnetic strips on the walls can hold metal kitchen tools, saving drawer space. Utilizing under-cabinet space for hanging mugs or installing a pot rack overhead can free up valuable storage in cupboards. By implementing these storage-maximizing techniques, you can effectively utilize every nook and cranny of your small kitchen, creating a functional and well-organized space.
3. What are some space-saving ideas for a small kitchen?
One effective approach is to utilize multi-functional furniture and appliances. Opt for a kitchen island that doubles as a dining table or workspace, or consider a foldable dining table that can be tucked away when not in use.
Wall-mounted shelves or magnetic knife holders free up counter space and keep essentials within easy reach. Another space-saving idea is to make use of vertical storage. Install floating shelves or hanging racks to store pots, pans, and utensils. Utilize the inside of cabinet doors with hooks or organizers to hold measuring spoons, oven mitts, or cutting boards.
Additionally, explore slim and compact appliances that are designed specifically for small kitchens, such as narrow refrigerators or space-saving dishwashers. Finally, consider utilizing under-cabinet space for hanging mugs or installing a pot rack overhead to free up cupboard space. By implementing these space-saving ideas, you can optimize the layout of your small kitchen and create a functional, efficient, and visually appealing space.
4. How can I make a small kitchen feel more spacious?
If you’re looking to make your small kitchen feel more spacious, there are several strategies you can employ to create the illusion of openness and maximize the available space. One effective approach is to utilize light and neutral colors on the walls, cabinetry, and countertops. Light colors reflect more natural light, making the space feel brighter and more expansive.
Additionally, consider using glass-front cabinet doors or open shelving to create a sense of depth and visually expand the space. Mirrors can also be utilized strategically to reflect light and create the perception of a larger area. Another tip is to keep the countertops clear and uncluttered, as excessive items can make the space appear cramped. Utilize clever storage solutions, such as vertical shelves, hanging racks, or pull-out organizers, to keep your kitchen essentials organized and easily accessible, reducing visual clutter.
Lastly, ample lighting can play a significant role in making a small kitchen feel more spacious. Ensure you have a combination of task lighting, ambient lighting, and natural light sources to create a bright and airy atmosphere. By implementing these techniques, you can transform your small kitchen into a visually spacious and inviting area.
5. What are the best colors and design elements for a small kitchen?
Light and neutral colors, such as whites, creams, soft grays, or pastel shades, work wonders in making a small kitchen feel more spacious and open. These colors reflect light, creating a sense of brightness and airiness.
To add visual interest and depth, consider incorporating pops of color through accessories or accent pieces. When it comes to design elements, simplicity and minimalism are key. Clean lines and sleek surfaces can contribute to a more streamlined and uncluttered look. Opt for smooth cabinet fronts, handleless designs, and integrated appliances to maintain a seamless appearance. Additionally, consider utilizing glass elements, such as glass cabinet doors or a glass backsplash, to introduce transparency and lightness into the space.
Mirrors can also be incorporated strategically to reflect light and give the illusion of a larger kitchen. Ultimately, a combination of light colors, minimalist design elements, and thoughtful accents can create a visually appealing and harmonious small kitchen environment.
6. What are some smart layout strategies for a small kitchen?
When working with a small kitchen, smart layout strategies are essential to maximize functionality and make the most of the available space. One effective approach is to embrace the concept of the “kitchen work triangle,” which involves positioning the sink, stove, and refrigerator in a triangular formation to optimize efficiency.
This reduces the distance and effort required to move between these key areas. Another strategy is to prioritize storage by utilizing every inch of space. Consider incorporating vertical storage solutions, such as tall cabinets or shelving units, to make use of unused wall space.
Additionally, optimize your cabinet storage using pull-out racks, organizers, and drawer dividers to keep items neatly arranged and easily accessible. When it comes to the layout itself, consider an open-concept design, which can create the illusion of more space and allow for a seamless flow between the kitchen and adjacent areas.
Alternatively, if privacy is a concern, utilize partial walls, half-height partitions, or glass dividers to maintain an open feel while providing some separation. Lastly, maximize counter space by utilizing foldable or extendable surfaces, such as drop-leaf tables or pull-out cutting boards. These smart layout strategies can help you create a functional and efficient small kitchen that maximizes space and optimizes workflow.
7. How do I choose the right appliances for a small kitchen?
Choosing the right appliances for a small kitchen requires careful consideration to ensure optimal functionality and space utilization. Firstly, prioritize size and dimensions. Measure your available space and look for appliances that fit seamlessly into your kitchen layout.
Opt for slim or compact models that provide the necessary features without overwhelming the limited space. Consider multi-functional appliances that combine multiple functions into a single unit, such as a microwave with built-in convection oven capabilities. Next, evaluate your needs and lifestyle. Determine which appliances are essential for your cooking habits and daily routines. Focus on energy efficiency to save space and reduce utility costs. Look for appliances with adjustable shelving or storage options to accommodate different sizes of cookware or groceries.
Finally, consider the aesthetics. Choose appliances that blend well with the overall design and color scheme of your small kitchen. Opting for stainless steel or integrated appliances can create a cohesive and sleek look. By carefully selecting appliances that prioritize size, functionality, energy efficiency, and aesthetics, you can outfit your small kitchen with the right appliances that enhance both its practicality and visual appeal.
8. Are there any tips for organizing a small kitchen?
Certainly! When it comes to organizing a small kitchen, there are several helpful tips to optimize space and create an efficient and clutter-free environment.
First, declutter and purge unnecessary items. Get rid of duplicate utensils, expired pantry items, or appliances you rarely use. Maximize cabinet and drawer space by utilizing organizers such as drawer dividers, stacking bins, or pull-out racks. Group similar items together, such as placing baking supplies in one designated area and spices in another. Utilize the inside of cabinet doors with hooks or adhesive organizers to hang measuring cups, oven mitts, or pot holders. Take advantage of vertical space by installing floating shelves or magnetic knife strips on the walls. Use clear containers or jars to store bulk items and make them easily identifiable. Utilize under-sink storage with tension rods or hanging baskets.
Lastly, maintain a regular cleaning and organizing routine to prevent clutter from accumulating. By implementing these tips, you can transform your small kitchen into an organized and efficient space where everything has its place and cooking becomes a breeze.
9. What are some budget-friendly ideas for remodeling a small kitchen?
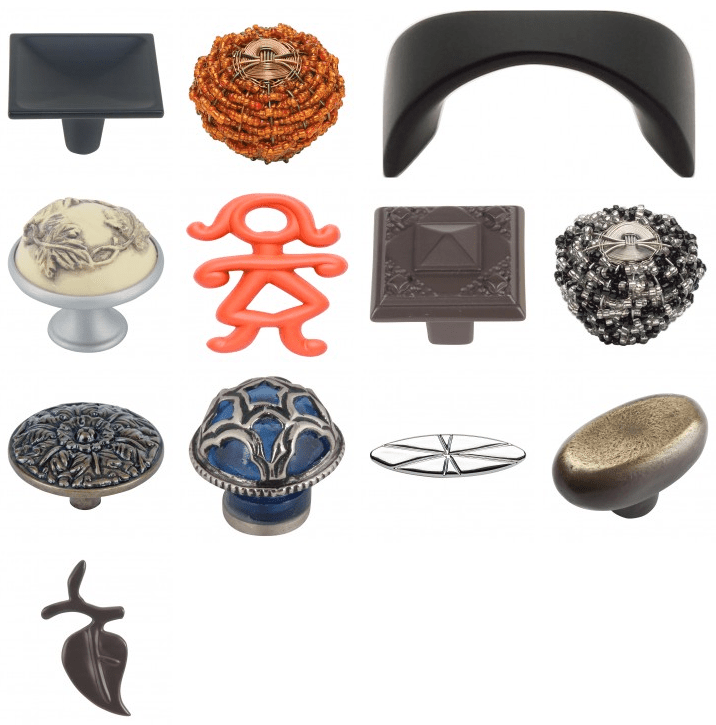
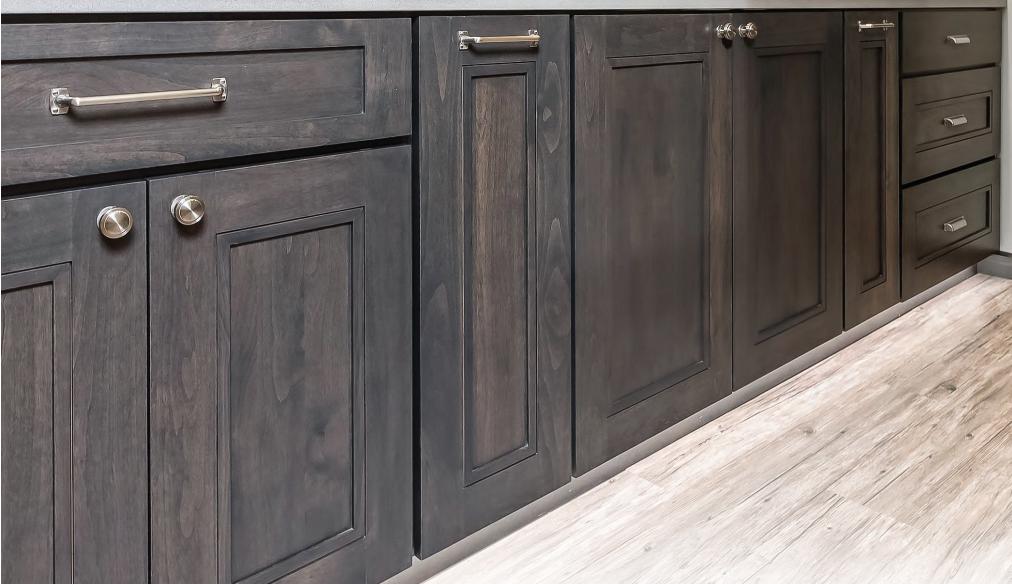
Remodeling a small kitchen on a budget doesn’t mean you have to compromise on style or functionality. There are several budget-friendly ideas to transform your space without breaking the bank. Consider giving your cabinets a fresh look by repainting or refinishing them instead of replacing them entirely. Swapping out the hardware, such as knobs and handles, can also provide an instant update at a lower cost.
Opt for affordable yet stylish backsplash options, such as peel-and-stick tiles or removable wallpaper. Another cost-effective idea is to update the lighting fixtures, as they can significantly impact the overall ambiance of your kitchen.
Adding a fresh coat of paint to the walls can instantly revitalize the space. Utilize open shelving or floating shelves to showcase decorative items or frequently used kitchenware. Rather than replacing appliances, consider giving them a facelift with stainless steel adhesive films or paint.
Finally, don’t underestimate the power of decluttering and organizing your small kitchen, as it can make a significant difference without any monetary investment. By combining these budget-friendly ideas, you can achieve a stylish and refreshed small kitchen that suits both your aesthetic preferences and financial considerations.
10. How can I incorporate seating or dining options in a small kitchen?
Incorporating seating or dining options in a small kitchen requires some creative thinking to optimize the available space. One popular solution is to consider a small dining table or breakfast bar that can be placed against a wall or tucked into a corner. Look for compact tables or ones with drop-leaf functionality that can be expanded when needed and folded away when not in use.
Another option is to utilize built-in seating such as a banquette or a window nook with a cozy bench and a small table. This not only saves space but also adds a charming and intimate dining area. Alternatively, consider utilizing bar stools or counter-height chairs that can be tucked neatly under a countertop or island when not in use. Folding chairs or stackable stools are also practical choices as they can be easily stored away.
Additionally, if space permits, consider extending your kitchen into an adjacent area, such as a living room or dining room, to create an open-concept layout and accommodate a larger dining table. By incorporating these seating and dining options, you can transform your small kitchen into a versatile space that caters to both cooking and dining needs.
Conclusion
In conclusion, small kitchens can present unique challenges, but with the right strategies and design considerations, they can be transformed into efficient and stylish spaces. From maximizing storage and utilizing clever layout ideas to incorporating space-saving solutions and selecting the right colors and appliances, there are numerous ways to make the most of limited square footage.
Whether you need assistance with optimizing your kitchen’s layout, selecting the perfect storage solutions, or brainstorming design ideas, our team of experts is here to help. Contact our experts today to discuss your small kitchen project and discover personalized solutions that will elevate your culinary space to new heights. Don’t let the size of your kitchen limit your creativity—let us assist you in creating a small kitchen that is both functional and visually appealing.
Contact Our Expert


